
PRINTVIEW ALIGN / AEROLISM
Set up a camera for your UV printer
Use a rigid camera mount, even lighting and a clear view of the complete bed.
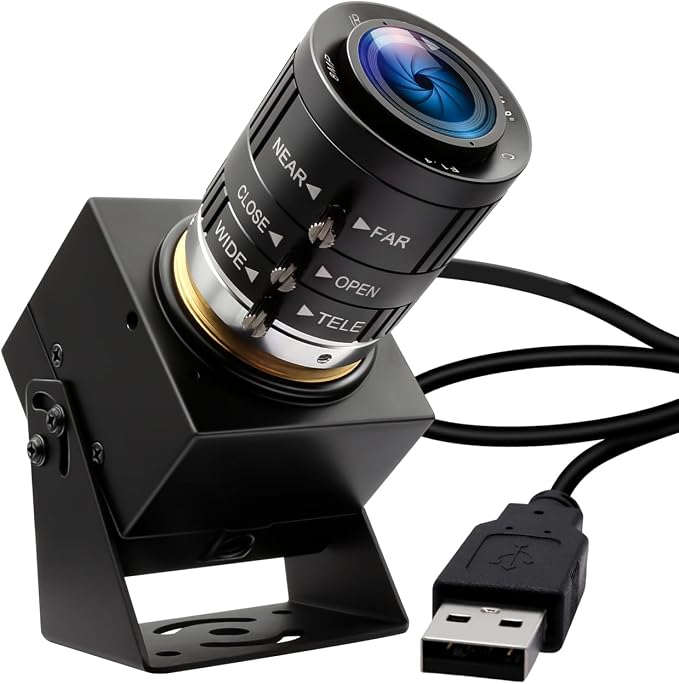
Camera used in the workshop
ELP 12 MP USB camera, manual 3.6–10 mm lens. Capture at 3840 × 3040 was verified on Windows with the workshop setup.
Calibrate once, register each capture
- Set focus and zoom, then capture varied checkerboard positions and inclinations.
- Keep the four ArUco markers visible and enter their actual RIP coordinates.
- Measure print height above the markers, including any fixture. Check a physical target before production.
Why the mount matters
Lens calibration and four ArUco markers map the photo to working coordinates. Stability and the height of the print surface matter alongside image resolution. Keep every marker border visible and set zoom and focus before calibration.
Check the whole printing workflow
Camera capture was checked on Windows 10 22H2 x64 and Windows 11 x64. Camera, mount and lighting are separate. A4 or A3 format alone does not establish compatibility. Verify that the RIP imports the transparent PNG at actual size, and use a test print before production.