Start with the object.
Use its position and orientation in the photo to place your artwork.

Cosmox A4/A3 or a similar desktop UV printer? Prepare artwork on a photo of your objects using a camera and PrintView Align.
A name on a phone case, a logo on a plate, a small batch of gifts: see where your design belongs before sending it to your RIP.
Windows 10 22H2 x64 or Windows 11 x64 · No account · No payment card
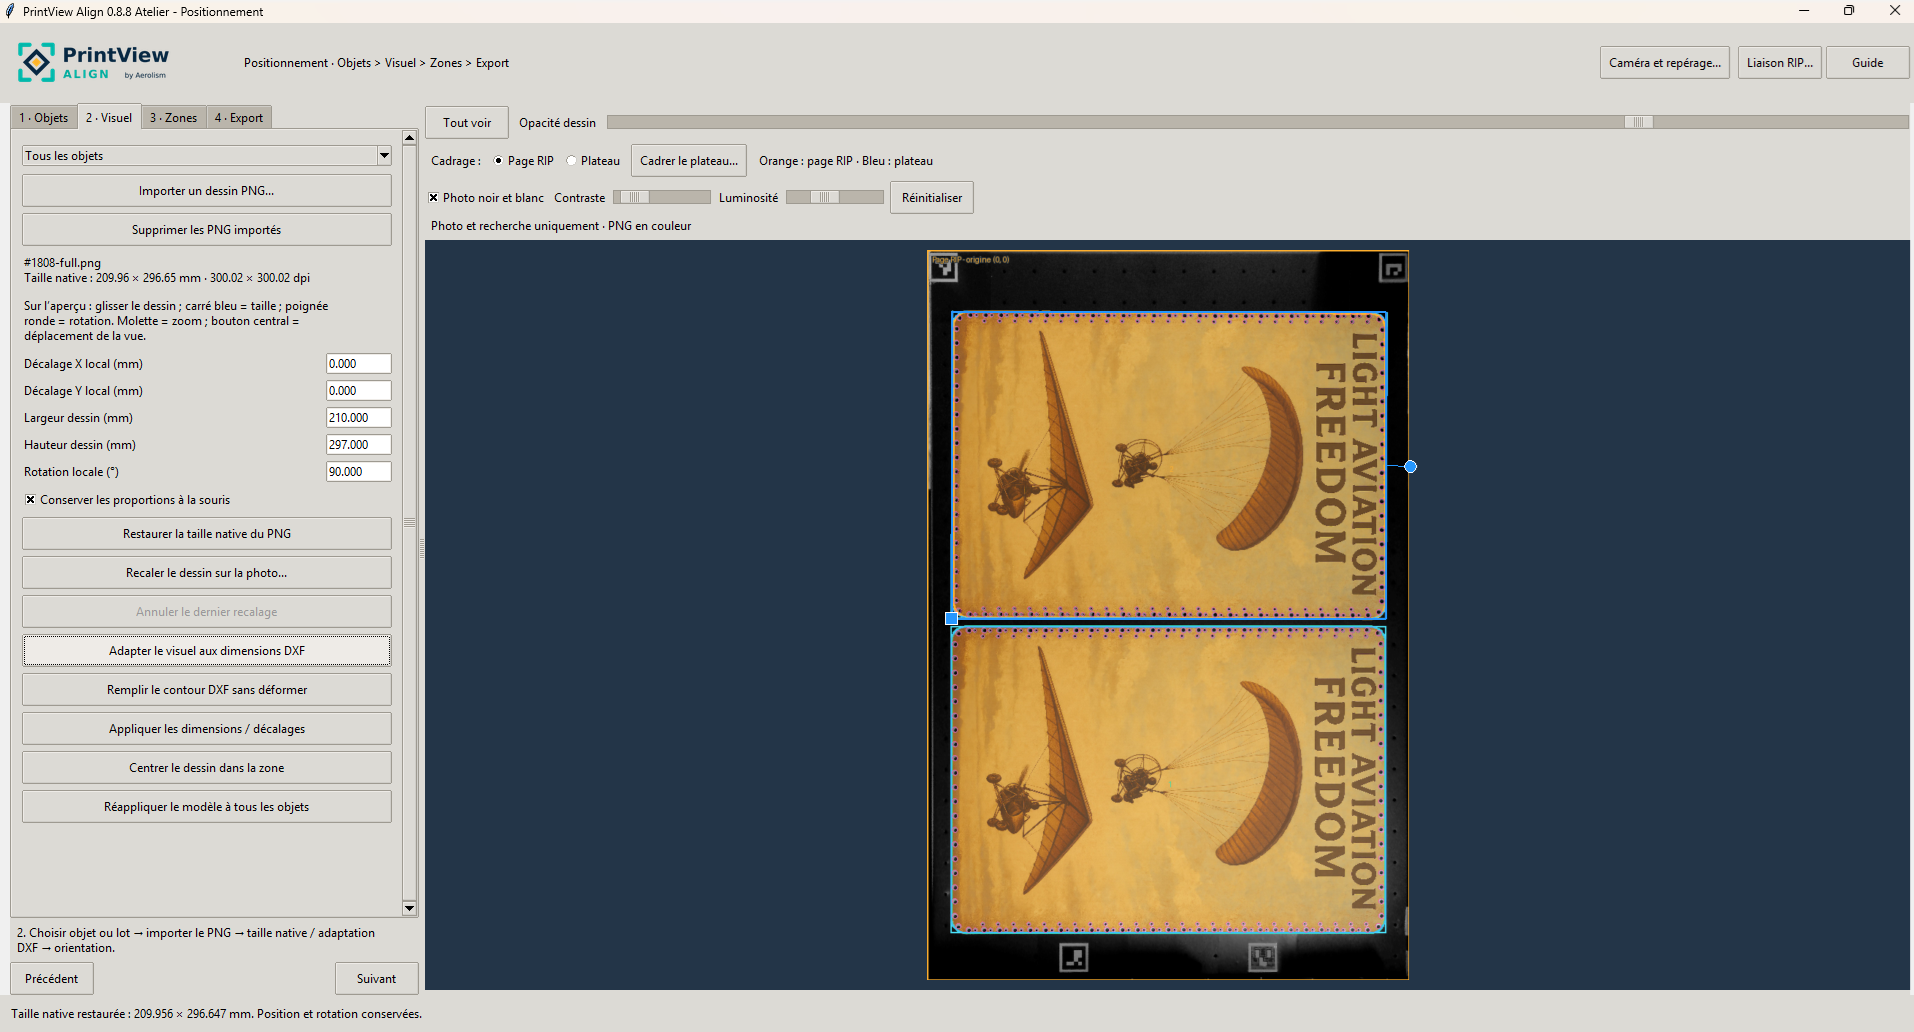
KEEP YOUR PRINTER. CHANGE HOW YOU PREPARE YOUR PRINTS.
A name, logo or pattern: build your composition while looking at the actual objects on the bed.
Use its position and orientation in the photo to place your artwork.
Place several designs in one project and review their arrangement before exporting.
Export a transparent PNG and prepare the print in your usual software.
FROM YOUR PRINTER BED TO YOUR PRINT FILE
Here is a workshop example: two pieces on the bed, then two designs placed on their photo.
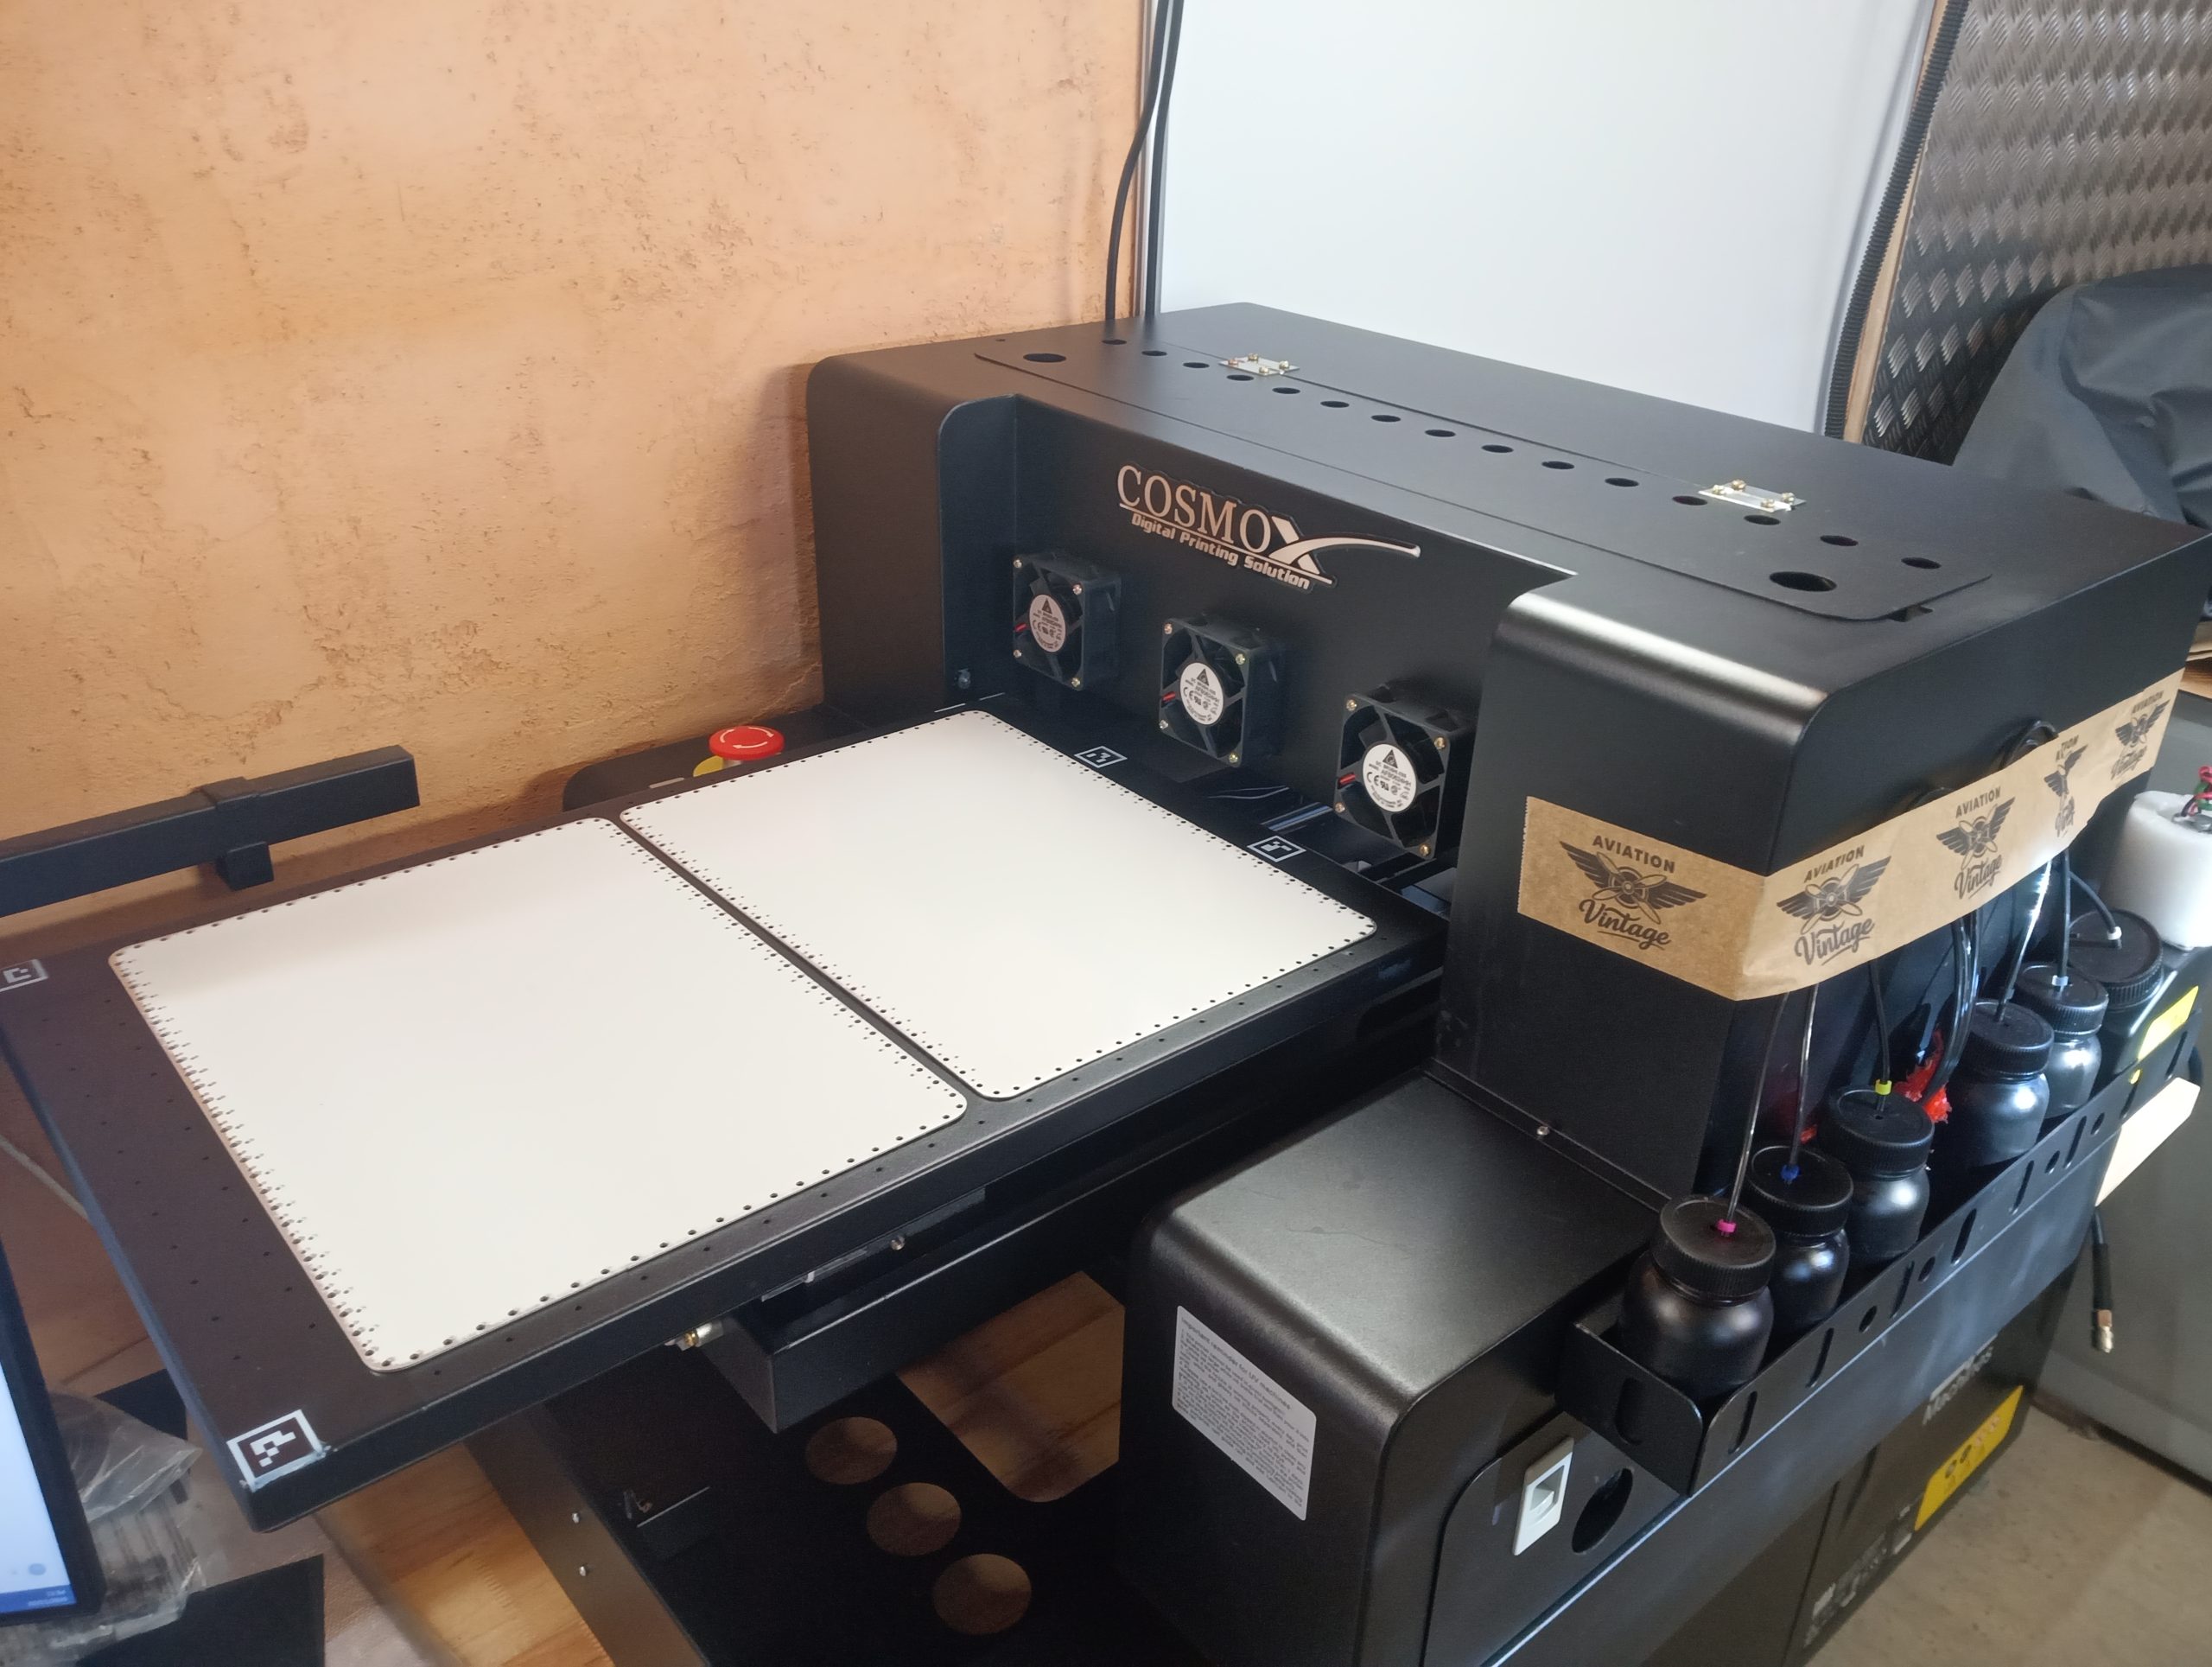
The camera sees the bed. ArUco markers and lens calibration map the photo to working coordinates.
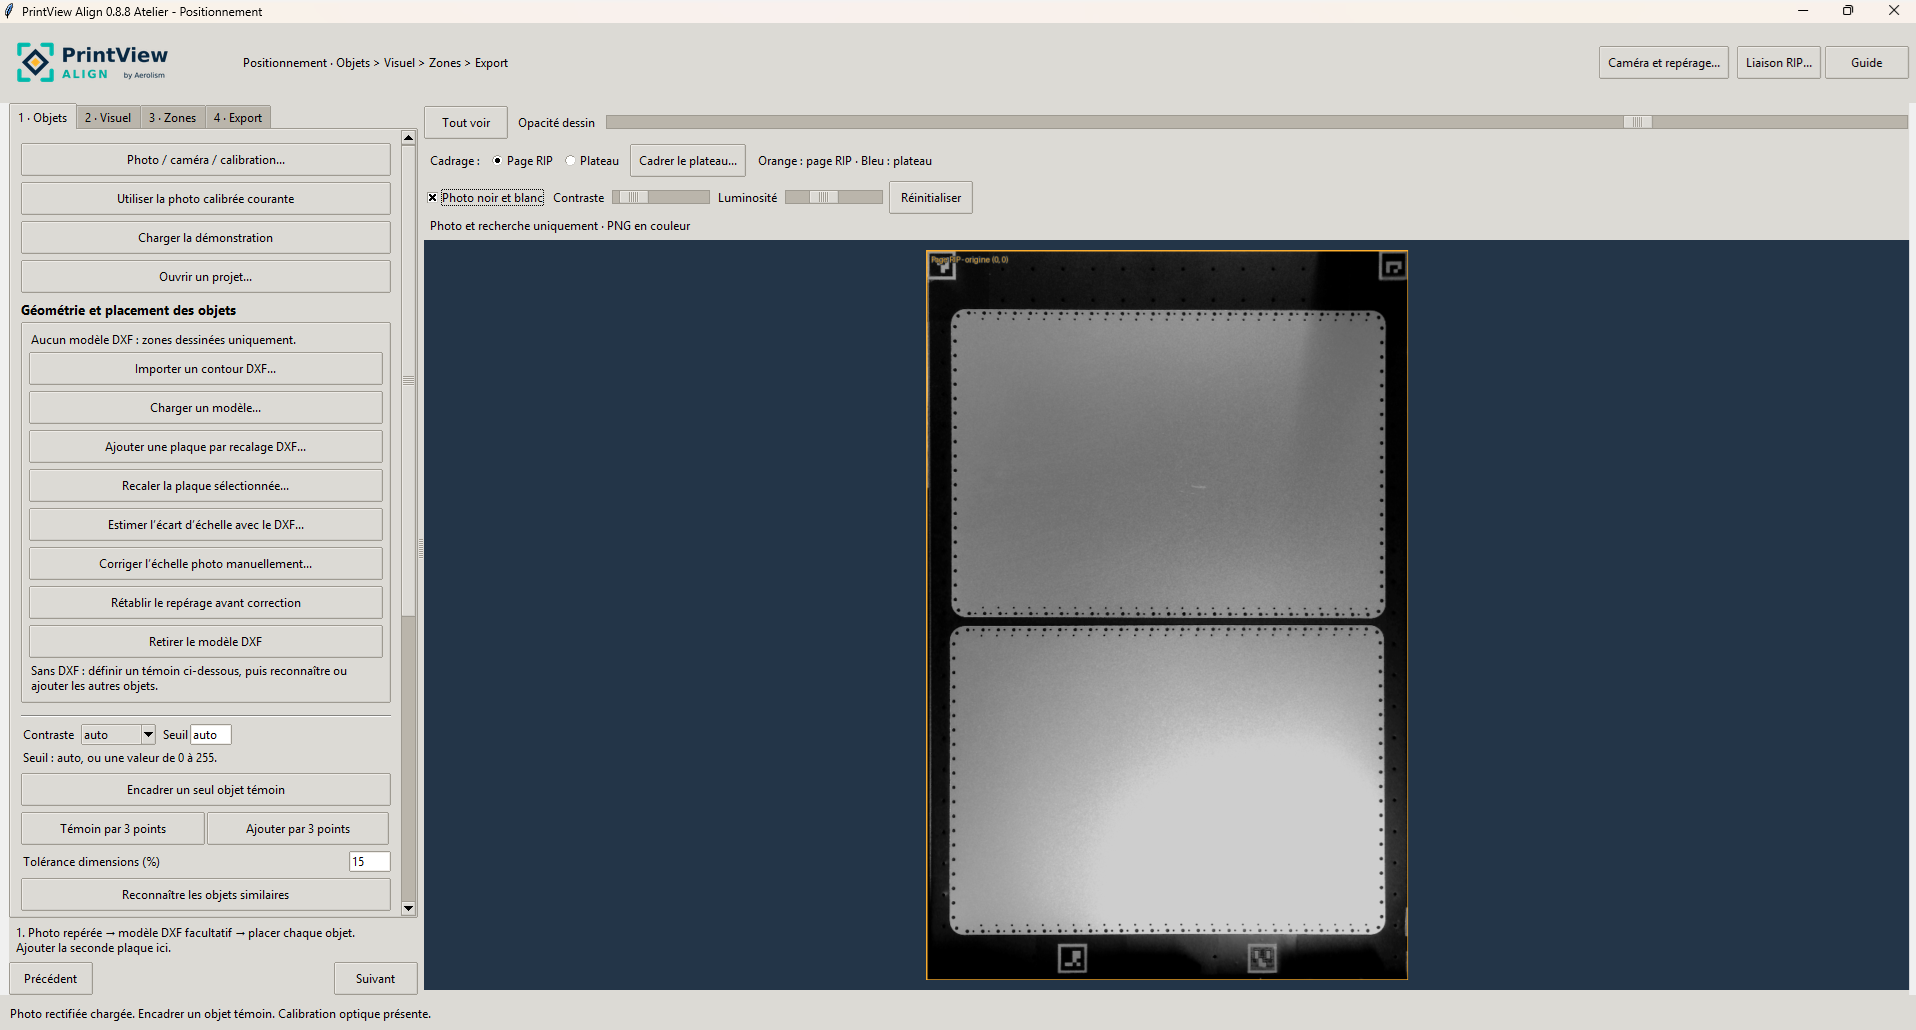
Define your objects and placement areas. Add a DXF outline if you have one.
Adjust your artwork and export the PNG. Check its scale and margins in the RIP before printing.
30 days to try the workflow in your workshop.
ONE OBJECT. ONE DESIGN. A WHOLE BED.
Reuse a design, decorate a precut part or personalize several objects. Choose the tools that fit your job.
01 / ALIGN A DESIGN
Import your PNG and align it with the photographed object. Review the proposed outline and orientation before applying it.
Use it for dials, decorative plates, precut blanks, logos and designs that need a particular orientation.
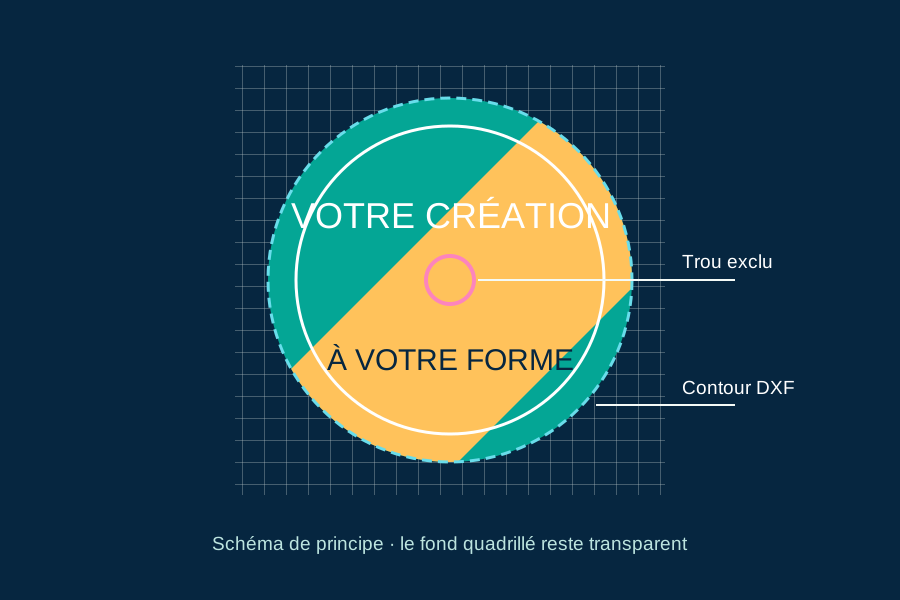
02 / USE YOUR DXF DRAWINGS
Use your part drawing to align a model with the photo and define the printable artwork. The DXF retains its nominal dimensions.
Example: crop a rectangular PNG to a round clock face while keeping the shaft opening transparent.
The software creates a print mask. Mechanical cutting is handled separately. Each model supports one outer outline and circular internal exclusions.
IN PICTURES / TWO PIECES ON THE SAME BED
Find the outlines and holes from your models on the photo and check the fit before placing the designs.
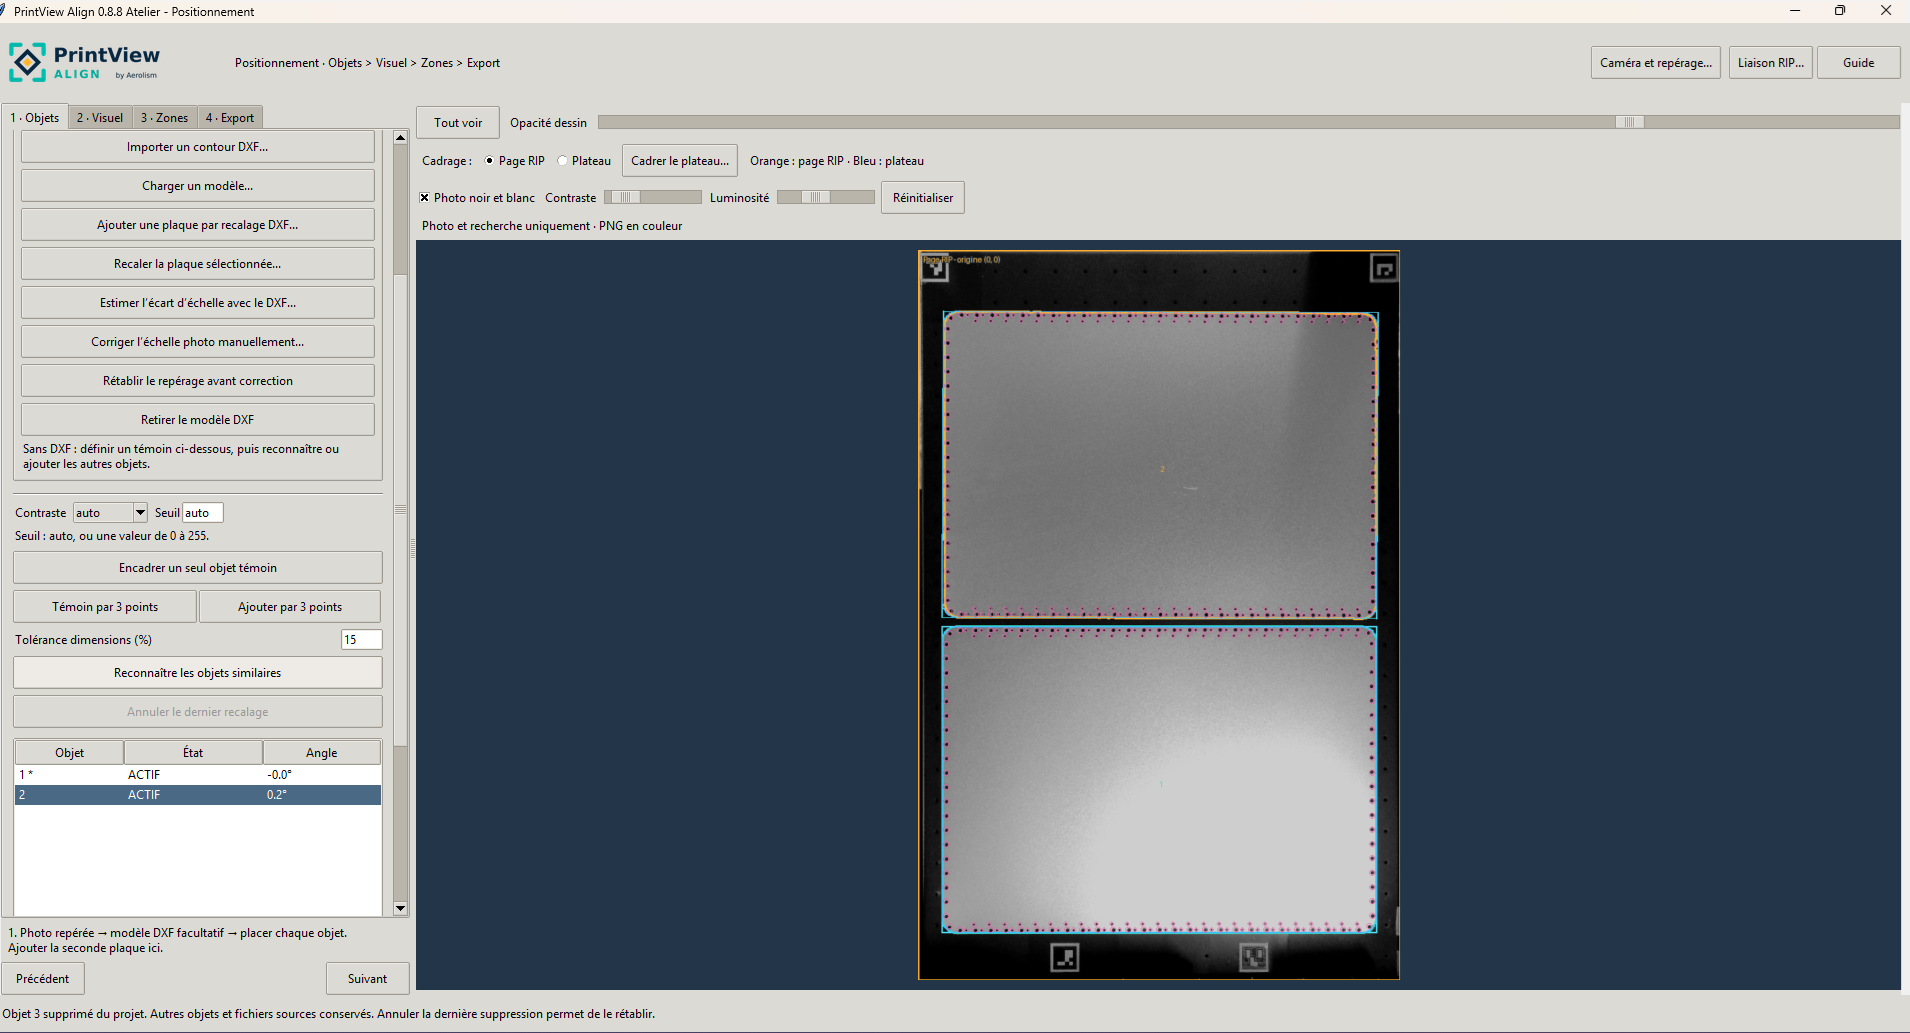
Each object retains its position and orientation on the bed. The outline and hole overlays help you place the artwork.
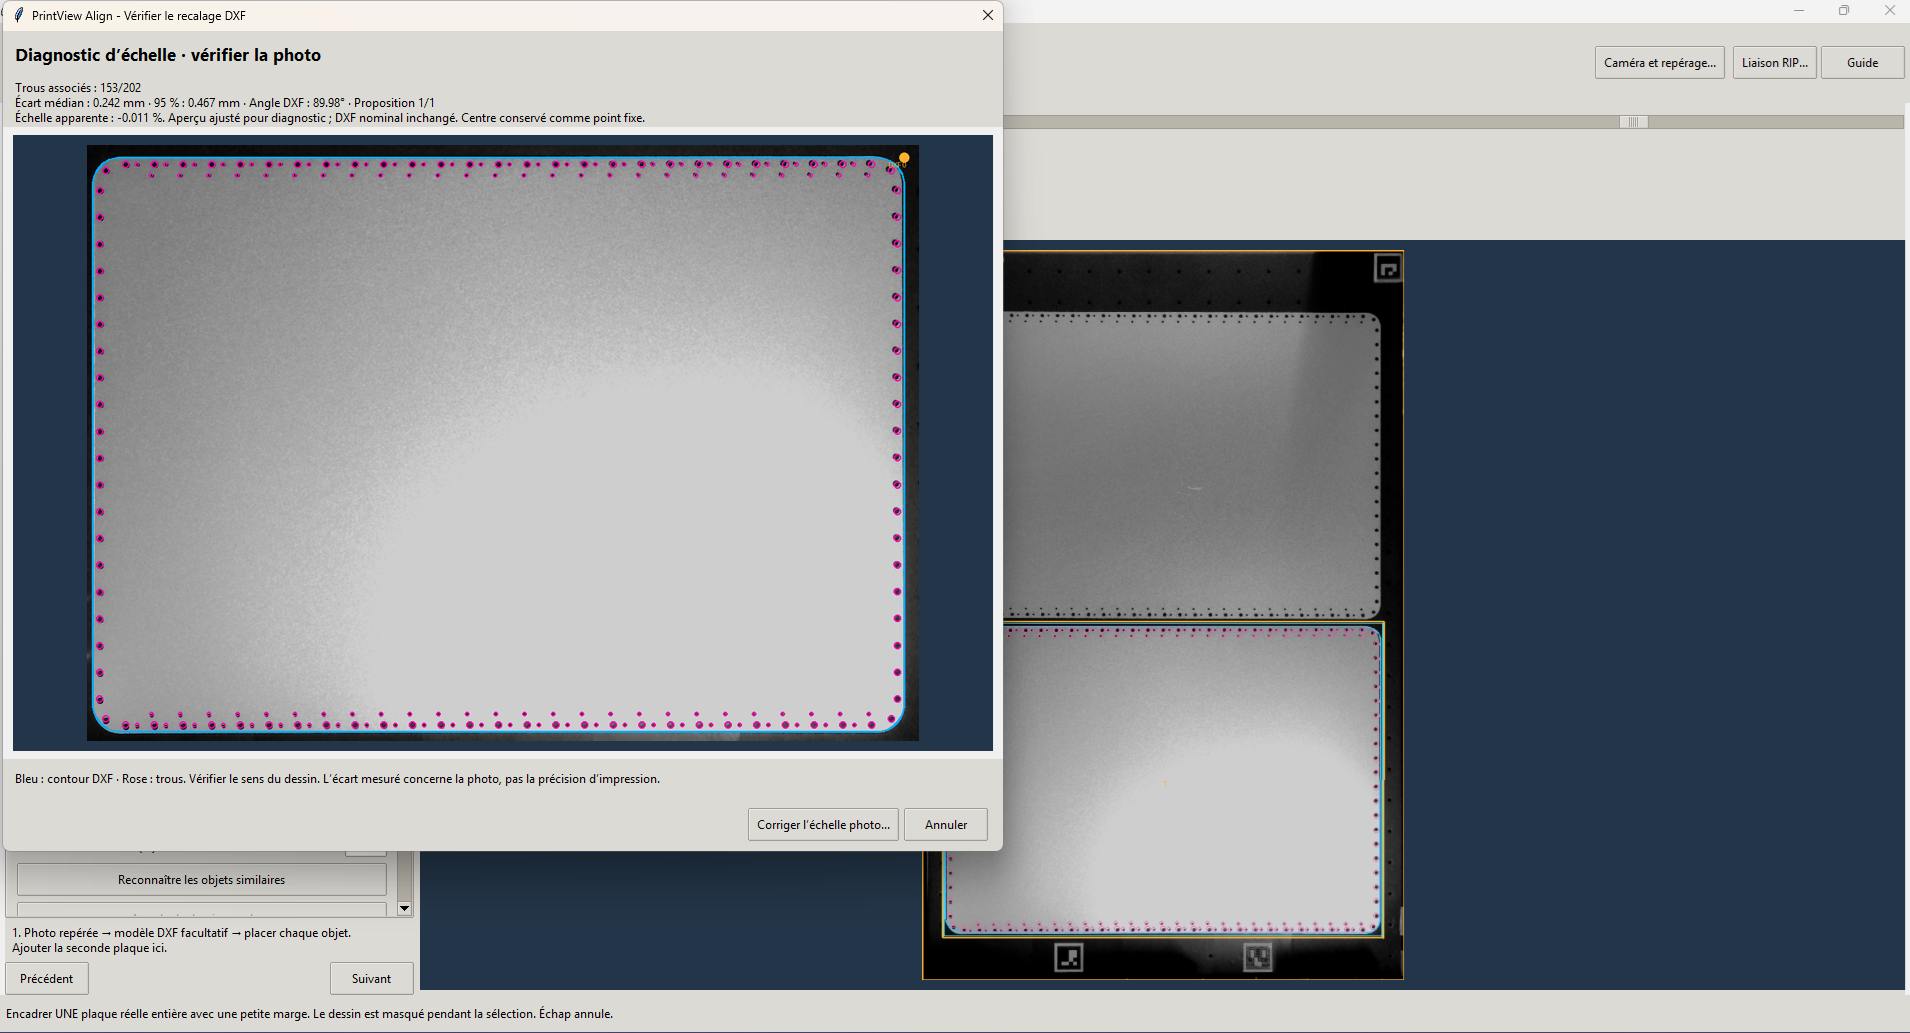
The scale diagnostic compares the model and photo. Blue shows the DXF outline and pink shows the holes. The displayed differences measure the fit in the image. Printed accuracy is checked with a physical target.
Import your PNG, adjust crop and orientation, then use the outline and exclusions to prepare a transparent export for the RIP.
Tutorial screenshots. Click to see the details.
Try this workflow free for 30 days ↓03 / RECOGNIZE AND REPEAT
Define a reference object and find similar objects in the photo. Apply one design to the batch or personalize each object separately.
Use it for promotional items, batches of plates, repeated logos or different designs on one bed.
Check the detected objects, orientations and exclusions before export. Geometry alone may leave a 180° ambiguity.
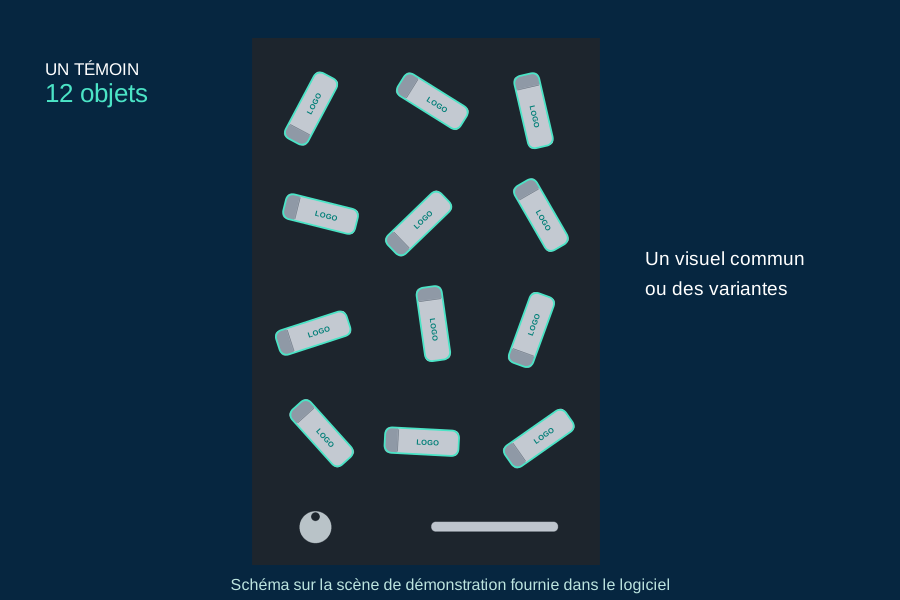
04 / CONTROL YOUR COMPOSITION
You can work directly on the photo with PNG artwork and your own print areas. DXF is optional.
Keep PNG transparency. Use the physical size from the DPI metadata or enter dimensions in millimetres.
Define the printable area and its inset. Adjust exclusions to keep ink clear of edges and holes.
Save projects and models to reuse your compositions. Register each new photo before printing.
EXPLORE IN THE FREE TRIAL
The built-in demos let you try the workflow before mounting a camera in your workshop.
Load the demo in Camera and registration, recognize the ArUco markers, and see how the photo maps to the working plane.
In Positioning, load the object demo. Define a reference object, find similar pieces and prepare a shared design or variants.
The illustrated tutorial shows how to register the pieces, adjust the designs and prepare the composition for the RIP.
See the tools in the screenshot ↗Try the full application · No payment card
COSMOX A4/A3 AND SMALL FLATBED UV PRINTERS
At home, in a small workshop or for your first customers, prepare personalized prints using a photo of your actual objects.
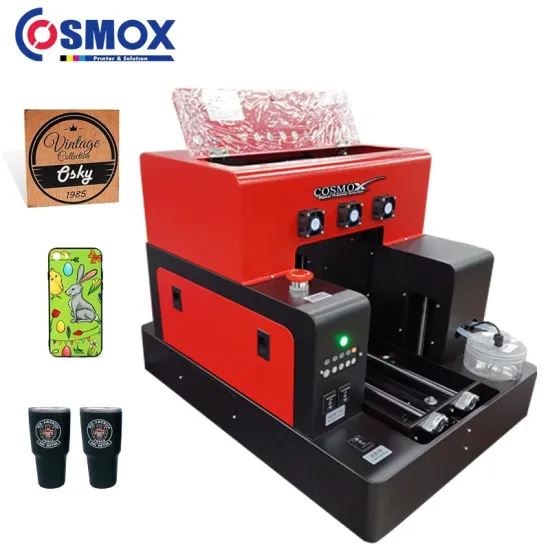 A COSMOX USED FOR WORKSHOP TESTS
Have a small Cosmox UV printer? The camera, on-screen placement and test-print workflow were tested on a Cosmox workshop setup.
The A4/A3 family comes in different configurations. Check your exact model before planning the camera mount.
See the Cosmox range on the manufacturer's site ↗Photo: Cosmox. Printer, camera and accessories are sold separately.
AMAZON, ONLINE RESELLER OR GENERIC MACHINEBought your printer from Amazon or an online reseller? Similar small UV flatbeds can use this workflow if the RIP imports a transparent PNG at actual size.
The seller, appearance and printhead identify only part of the setup. Use the 30-day trial to check your own installation.
Try it on my printer for 30 days ↗Photo: workshop printer bed. This illustrates the placement workflow. Check each model on its own setup.
FOR YOUR OWN PROJECTS
Place a name, photo or design on a flat item such as a suitable phone case or decorative plate.
FOR SMALL WORKSHOPS
Set out your items, align the designs on their photo and prepare a RIP file for one-off work or short runs.
FOR YOUR FIRST CUSTOMERS
Find similar objects on the bed, repeat a design or personalize each item, then check the composition.
30 days free · No account · No payment card
Epson, Roland DG, Mimaki, ArtiJet and UV Print France illustrate other machine formats. Check the camera mount and PNG import on each installation.
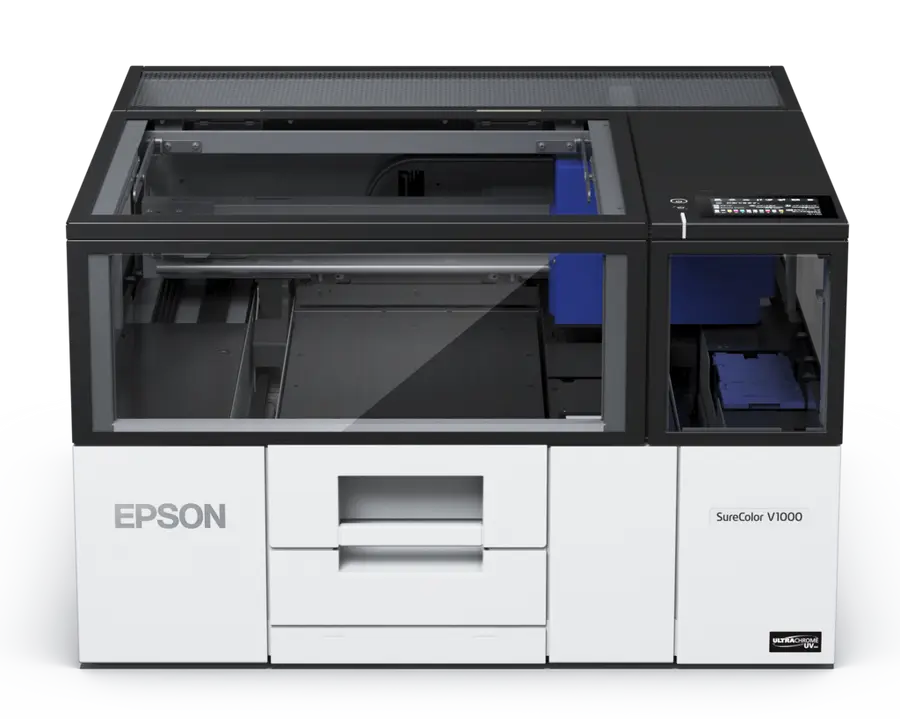 EXAMPLE A4 FORMAT
A compact UV printer designed to personalize objects.
Epson product page ↗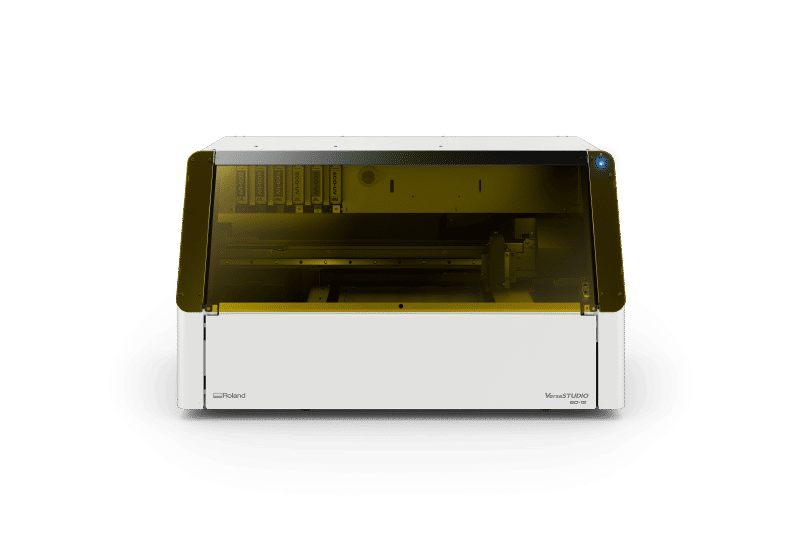 305 × 210 MM
A desktop UV flatbed for objects and small batches.
Roland DG product page ↗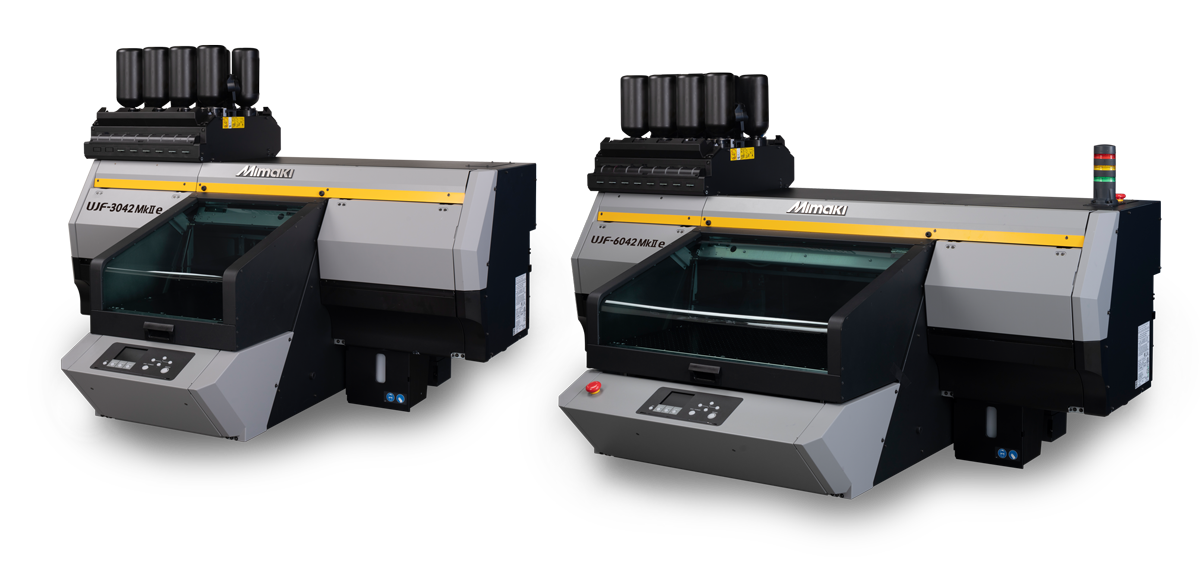 A3 / A2 DEPENDING ON MODEL
The range includes the 3042 and 6042 models with different bed sizes.
Mimaki product page ↗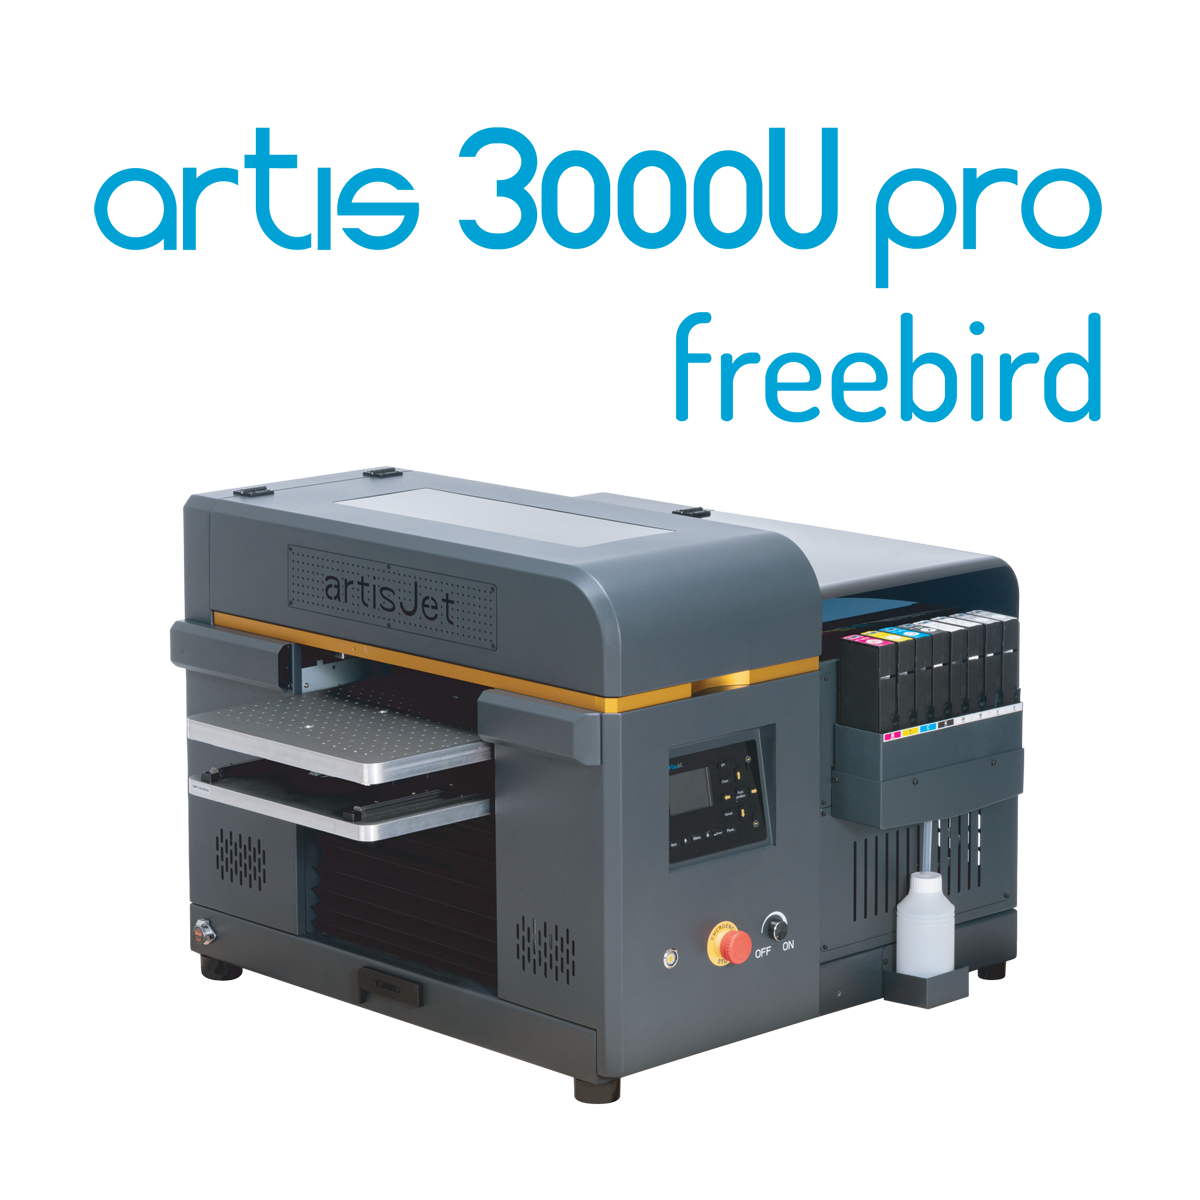 347 × 490 MM
A UV flatbed for printing directly onto objects and flat substrates.
ArtiJet product page ↗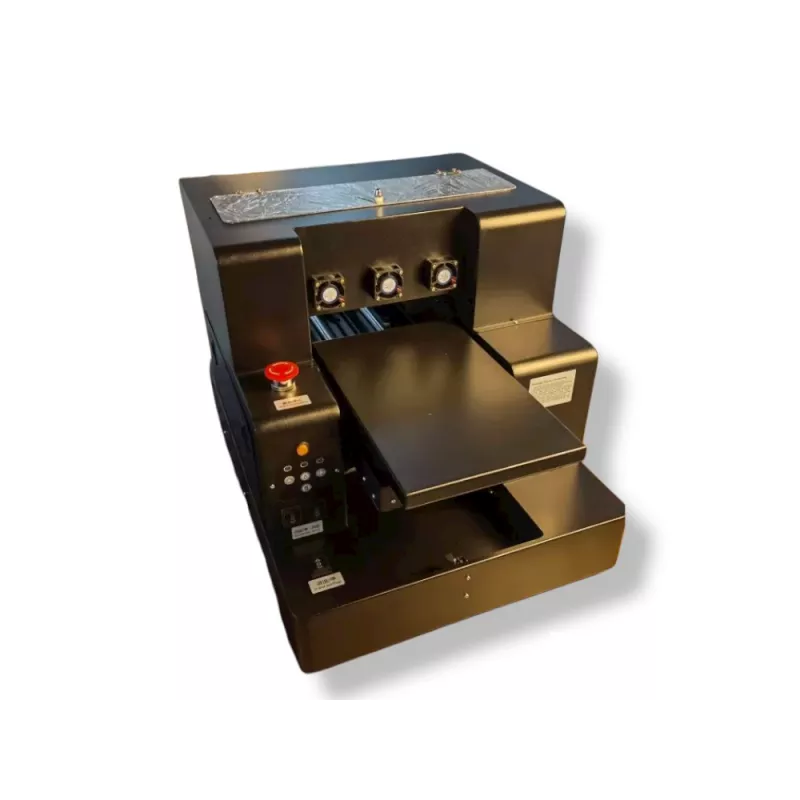 220 × 300 MM
An A4 UV flatbed for printing directly onto objects and flat substrates.
UV Print France product page ↗Tests were performed on a Cosmox workshop installation. Use the trial to verify other configurations, including Cosmox variants and generic machines. Other product photos: Epson, Roland DG, Mimaki, ArtiJet and UV Print France. Brand names identify the models shown.
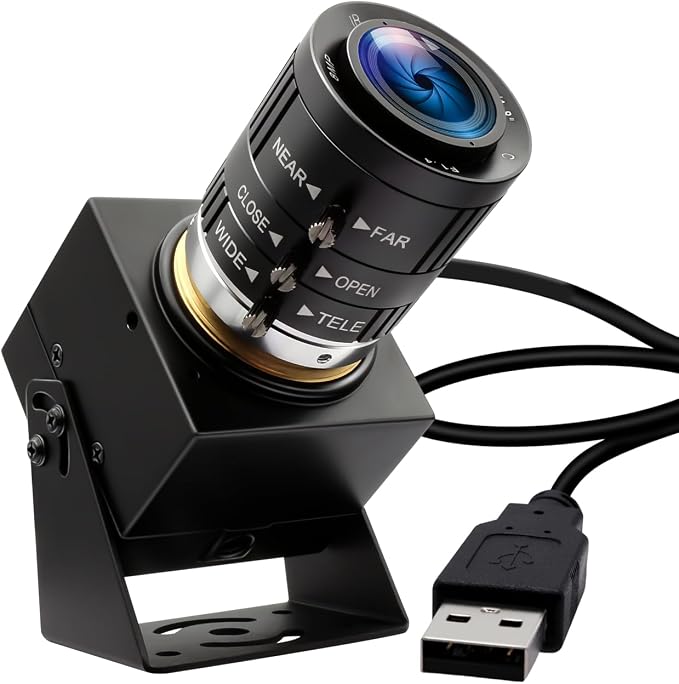
THE CAMERA USED IN THE WORKSHOP
The workshop camera has a 3.6–10 mm adjustable lens and a UVC USB connection. Capture at 3840 × 3040 was verified with PrintView Align on Windows.
Indicative cost: about €130 to €152 including VAT.
Offer observed on 3 November 2026. Prices and availability depend on the seller and account. The licence is sold separately from the camera and mount.
STANDARD SOFTWARE. A SIMPLE LICENCE.
Start with 30 free days. When your setup is ready, upgrade to a perpetual licence to keep exporting.
The trial ends without an automatic purchase. Your projects stay accessible.
€588 incl. VAT
€490 excl. VAT · 20% French VAT
No subscription. Hardware, RIP and setup service are separate. The total price and applicable tax are confirmed before payment.
ANSWERS BEFORE YOU DOWNLOAD
The workflow was tested on a Cosmox workshop setup. For other Cosmox A4/A3 or similar generic UV flatbeds, check that the camera sees the bed and markers and that the RIP imports the transparent PNG at the required size and origin. The 30-day trial lets you verify this before purchase. The workflow applies to flat surfaces. Rotary attachments and curved surfaces are outside its scope.
Bed registration uses four ArUco markers and lens calibration. You define the objects and print areas, with assistance from outline and similar-object tools. You review the composition and start printing from your RIP.
Add the camera and software to your current workflow. Check that your RIP preserves PNG transparency, dimensions, origin and margins. Use the trial to verify your actual setup.
A Windows 10 22H2 x64 or Windows 11 x64 PC, a suitable USB camera, a stable mount, four visible ArUco markers and your UV printing workflow. The initial trial activation requires an internet connection. The installer includes the software dependencies.
Results depend on camera resolution, calibration, mount stability, print height and the RIP. Check a printed target on your setup before production. Accuracy below 0.5 mm depends on the installation and is not guaranteed.
The trial ends without a charge. You can still open your projects. Export requires a valid licence. The perpetual licence covers one workstation and major version 1, with no subscription.
Email support@aerolism.com. We provide a first response within two working days, Monday to Friday excluding French public holidays. Remote setup is a separate service.
YOUR NEXT STEP
Download PrintView Align and prepare your first composition with your objects, your artwork and your UV printer.